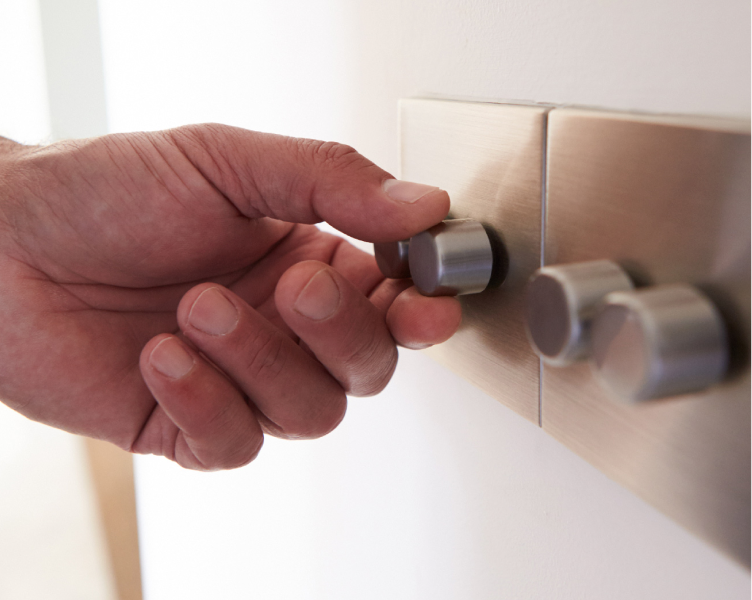
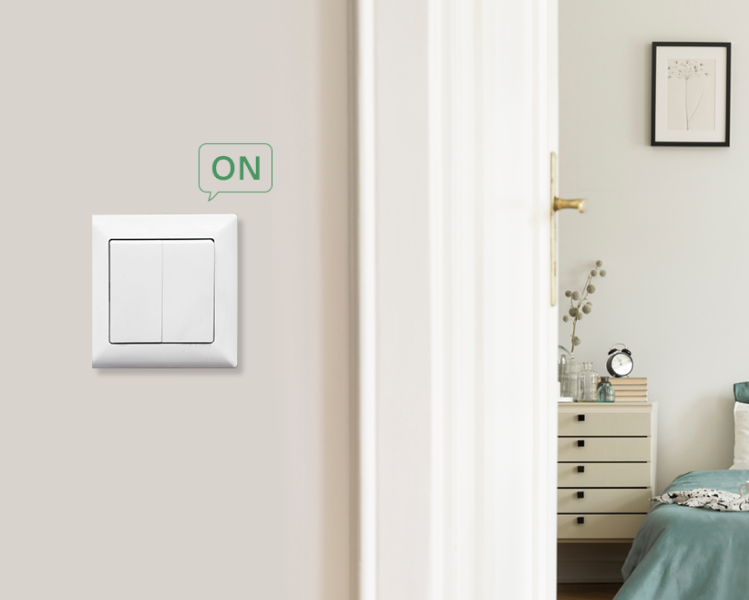
It doesn't take long to replace an ordinary switch or a dimmer if you know what you are doing. But it's a different story when it's a smart dimmer or switch. Because they pack more electronics than ordinary switches it is a bit more complicated.
If you don't need the dimming functionality or want a different switch to turn on or off your light you can go for Evvr In-Wall Relay switches compatible with Zigbee, Z-Wave and Homekit, which are very small and easy to install with no neutral wire.
Best Dimmer switches for the smart home
Before you install a dimmer switch on your wall, you need to get a proper switch that is best for you. For smart home automation, we suggest the following dimmer switches:
GE Cync Smart Switch Motion Sensing Dimmer
Phew, that almost looks more like a product description than a product name. The C-Start Switch is constructed similarly to any other Wi-Fi-linked smart switch on the market in terms of hardware.
Four pigtails protrude from the back of the switch, which you connect to your existing receptacle wiring using the provided wire nuts. The inclusion of neutral and ground wires is necessary, as is customary. They’ve released 3-wire variants of these devices, which do not need the existence of a neutral wire in the electrical box where they are to be put.
These switches operate with any type of bulb, but one of the biggest selling points is that they can manage C by GE smart bulbs even if they aren't physically hooked into the switch. In other words, if you have many switches controlling different bulbs, you can control them all with a single C-Start switch.
It works with Google Assistant and, like other Alexa-enabled switches, the dimmer responds to voice requests, but the Cync Android app needs some improvement; setting up automation for a room is complex, and it may even be tough to determine the turn on and off time.

Leviton Decora Smart Wi-Fi Dimmer (2nd gen)
The Leviton Decora smart dimmer looks the same as its predecessor: a basic paddle with a side rocker for dimming and vertical LEDs opposite that for brightness level, as well as a separate LED that lights up when the switch is turned off.
Leviton made some excellent enhancements to the second-generation Decora Smart Wi-Fi Dimmer, including a quicker installation process, August compatibility, and a new Anywhere Dimmer, which saves you the cost and effort of drilling a hole in your wall to add a light switch.
Still, we like the Lutron Caseta line more since it is compatible with more smart home devices and features two-factor authentication, which is a critical security feature.

Lutron Caseta Smart Home Dimmer
This Lutron dimmer is simple to install and use, and its numerous interfaces with other devices change the way you think about lighting. When coupled with your phone, the Caséta dimmer allows you to manage a single light or a whole room of lights from the other side of the house, town, or planet.
It's recommended to use the Lutron Caséta with a normal light rather than a smart bulb. Smart light switches combined with smart lights can produce an obnoxious hum.
The Lutron Caséta dimmer is compatible with virtually every form of the light bulb, including CFL, halogen, incandescent, and LED. If you want the lights to dim, however, use dimmable bulbs.

Lutron Aurora
The Lutron Aurora is a rotary dimmer switch that fits over your current light switch, locking it in the 'ON' position and controlling your Philips Hue or other Zigbee lights. To be clear, this is for Philips Hue light bulbs, not Wifi or Thread-enabled light bulbs.
The Aurora is straightforward to install, and it even has a multi-color LED that will assist you in troubleshooting if you have any complications. If you had all rocker switches in your house, Lutron included a toggle switch with the Aurora so you could replace the current switches controlling the Philips Hue bulbs you wished to test it with.
Because the Lutron Aurora may be linked to various accessories, a single switch does not have to control a single set of lights. For example, I have mine set up to manage both the overhead light and the floor lamp, which both utilize Philips Hue bulbs.

How to wire a dimmer switch simply and safely
Before you go into the installation process, you may like to know how does a dimmer switch work? there are a few things you need to make sure that you have.
- Screwdriver
- Wire cutter
- Electrical tape
- Voltage tester
- And finally, the dimmer switch you have chosen
If you have all the tools now, let's move to the actual installation process.
- First ,turn off your main power to the room you are working in or the whole house. You should always turn off the power whenever you are working with the main line. Use the voltage tester to make further sure there is no electricity to the existing dimmer.
- After making sure there is no electricity, remove the existing dimmer from the electrical box. Pull the dimmer out and examine the wiring of this dimmer.
- Your regular existing dimmer should have only two wires, one is the live input, and the other is the live output. Electricity will flow through the live input wire to the dimmer and the dimmer will set the dimming value and send it to the live output wire, which is connected to the light bulb.
- Unfortunately, a smart dimmer is not as simple as this. There are 4 way and 3 way dimmer switches. A ground wire, an "in" wire, an "out" wire, and a neutral wire are all required for most smart light switches.
- Most residences have in, out, and ground wires, although some older homes did not have neutral lines. The neutral wire is usually a white wire or a set of white wires. You can still install many smart light switches even if there is no ground wire in your house, but you'll need to buy a special type of smart light switch that doesn't require a neutral wire.
(The color code for wire is different from country to country so, make sure you are working with the right wire by finding out the color code for your country)
- If you figured out the color of the wire for your country then it is time to connect them with the smart dimmer switch. The dimmer switch should have all the connectors marked which are which, for example, live in should be marked with “IN” love out should be marked with “OUT” Neutral with “N” and finally Ground with “G”. Note the marking might not be exactly the same as this, but the smart device should have an installation guide describing which one’s which.
- After connecting the wire, use electric tape or the proper isolator to wrap around the connection point and tuck the wire inside the box as neatly as possible.
- Put the switch in the box and screw it in. Install the provided cover, and that's it. You have installed a smart dimmer all by yourself, now it's time to set it and test it. Don't forget to turn on the power of your house/room.
Final Thoughts
Dimmer switches can transform the way you see lighting. You have complete control over the lights you’re using. Further, they’re also cutting your electricity bills down.
If you already have a dimmer switch, you may try getting it installed on your own following the guidelines provided in the blog. However, we highly recommend having someone with a sound technical understanding for your safety.
We’ve also provided you with a list of quality smart dimmers so you can find the one that is more reliable. Still, if you have any further queries, don’t hesitate to reach out to us and become our partner. We’ll certainly resolve any issues you have.


