- Introduction of Evvr In-Wall Relay Switch for 3 Way Switch
- Preparations before installations
- How to install Evvr In-Wall Switch to control 3 Way Switch
- How to install Evvr In-Wall Relay to control 3 Way Switch
Introduction of Evvr In-Wall Relay Switch for 3 Way Switch
Evvr smart In-Wall Relay Switch is an exceptional no-neutral wire smart relay switch that works perfectly with old and new residential or commercial buildings. You don't need to upgrade your home's existing components to install it.
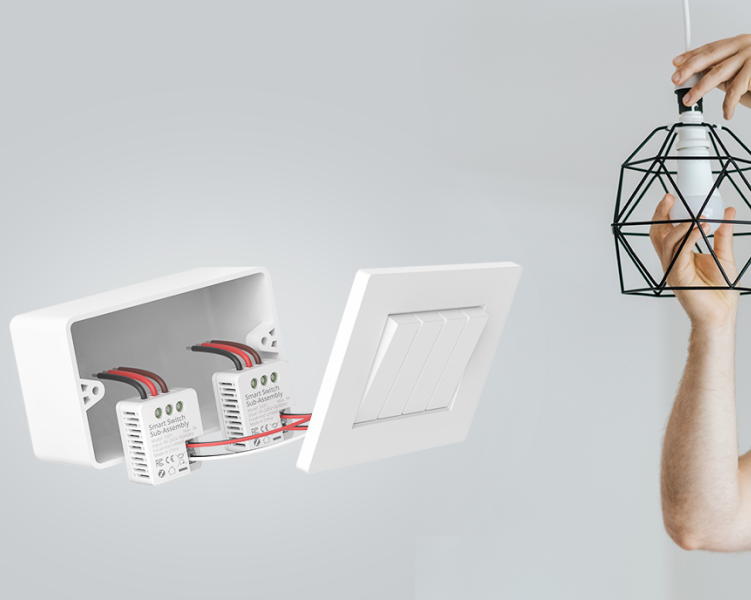
Evvr In-Wall Relay Switch contains Smart Relay and Smart Switch Sub-Assembly. The Smart Relay is recommended to install near the lamp, and it supports any light bulb, incandescent, halogen, fluorescent, and LED bulbs, with no minimum load required, and is 100% flicker free. The Smart Switch is installed behind the wall switches, and no neutral wire is required. In addition, the size of the Smart Switch is exceptionally compact. 2 Smart Switches can fit in most electrical boxes to support up to 4-gang wall switches.

Also, despite being a two-part device, you don't really have to install the sub-assembly if you don't need to use mechanical switches to control it. Still, we recommend it, since this way, the WiFi connection is not interrupted after you've turned off the lights from the mechanical switch, and you can continue to control the lights through network commands. And I know that this is a common occurrence with smart bulbs.
Evvr has designed a hardwired solution. This means the connection is not interrupted, you can continue to turn the light on/off from the mechanical wall switches when the internet is gone.
Open the package of the Smart Relay, you will see a double-sided foam pad, an instruction manual, and the Smart Relay device. Open the package of the Smart Switch Sub-Assembly, you will see two Panel Connector Wires, the Smart Switch Instruction Manual, and the Smart Switch device. We have HomeKit, Zigbee, and Z-Wave versions.

Here we need a double switch kit that contains one Smart Switch Sub-Assembly and two Smart Relays and we use the HomeKit version for the installation.
Preparations before installations
First of all, a word of caution, please be careful that all installations of these devices should be performed by a qualified or licensed electrician. And please follow your local guidelines and legislation for electrical installation.

Before installing the In-Wall Relay Switch, we need to make sure the power is off at the breaker or electrical service panel.
And we'd better prepare these tools:
- voltage tester
- cable cutter
- screwdriver

How to install Evvr In-Wall Switch to control 3 Way Switch
Once you verify that the power is off, you can set about the installation. There's no standard installation sequence between the two components. But here we will install the Smart Switch Sub-Assembly (Smart Switch part) first.
Remove the face plate from the wall switch. As you can see, we've got the Europe standard wiring.
The live wire is brown, the load wire is black and grey, and the ground wire is green. But the standard color code varies from region to region.
For safety or if you are not sure about the wire color, turn on the power and verify it via a voltage tester. If there is always a current through whether you turn on or turn off the switch, it is the Live wire. No current passes through the other wires when the switch is off. And then turn off the power to proceed.

Now we can see the live wire and the load wires. We can connect the live wire to the L connector at the top, the load 1 wire to the "L1" connector at the top, and the load 2 wire to the "L2" connector.

And then, we can take the panel connector wires, and insert the black and red connector wire into the SW1 and black and white connector wire into the SW2 terminal for the load and connect the red wire to "L1", the white wire to "L2" and the black wire to "L" terminals on the wall switch we took out the wall respectively.

Now that we have completed the smart switch installation, put it back in the box.
How to install Evvr In-Wall Relay to control 3 Way Switch
Next, we can start the installation of the Smart Relay. We recommend installing the Smart Relays near the lamps. You can find the well-illustrated wiring diagrams in the Smart Relay Instruction Manual.
We can start by removing the cover of the light fixture.
Detach the two wires that go to the light bulb. Connect the live wire to the L terminal at the top and the neutral wire to the first N terminal. Fasten the screw. And then, connect the live wire from the light to the OUT terminal and the neutral wire from the light to the remaining/second N port.
Repeat the above steps of installing Smart Relay for the second Smart Relay.

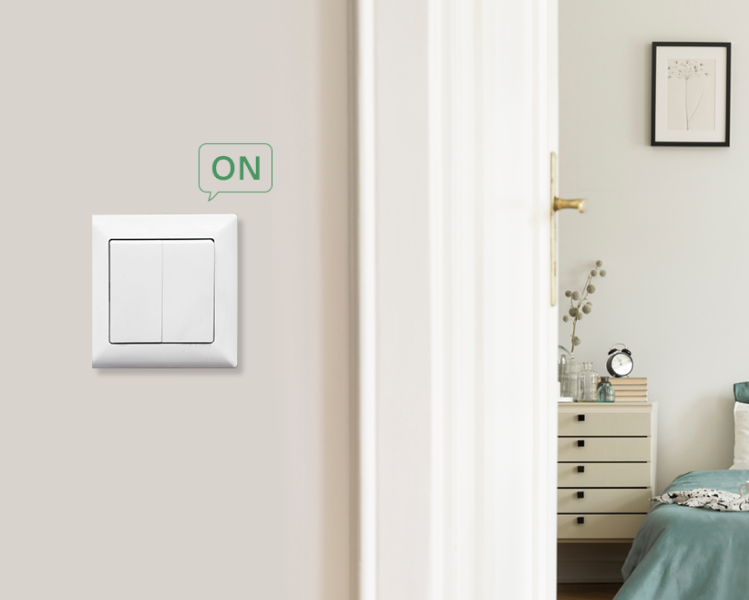
Now, we can turn ON the electrical power and check if the wires are connected correctly. If wires are properly connected, turn on the wall switch, and the indicator light will come on while the lights connected to the switch will be turned on.
Now we've finished the installation. Scan the QR code to set up the Smart Relays to the network. Please follow your own Zigbee 3.0 or Z-Wave gateways' instructions for adding the In-Wall Relay Switch Zigbee or Z-Wave models to the network.
As you can see, now you can control the lights with your phone and from the original mechanical wall switch at the same time. And as mentioned at the beginning, even if you have turned the wall switch off, you would still be able to control the lights from your phone, through the network command.
Last, you can use the included double-sided tape or screw to fix the Smart Relay and then put your light fixture back.
Now, start to enjoy the Evvr smart relay switch in your life!