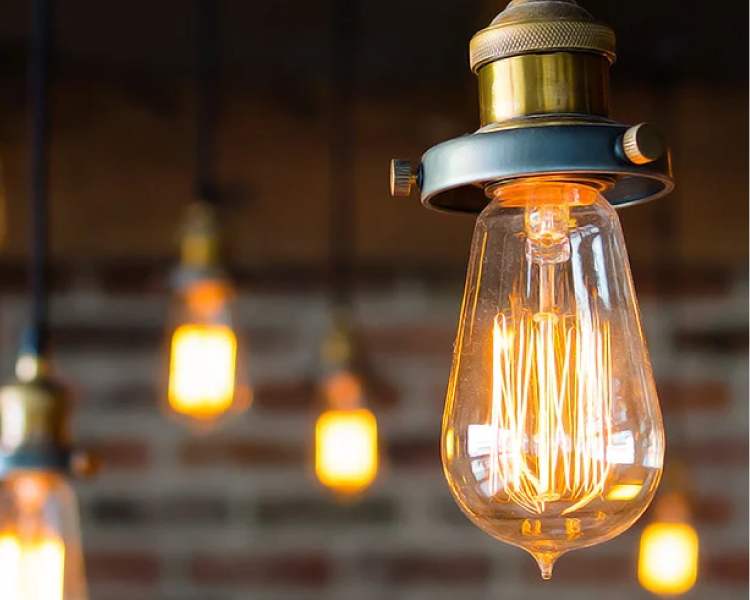
Has a timely Christmas gift introduced you to Apple's smart home platform, HomeKit? You're fortunate, then! To get started with HomeKit and maximize your smart home setup, we'll provide some tips and tricks in this article. We'll go through everything you need to know to start with HomeKit, from setting up your first HomeKit-compatible device to creating automation and utilizing the Home app. We'll also explore some of the platform's more complex features, such as configuring HomeKit secure video and using the HomePod as a hub. These pointers and ideas will help you get the most out of your HomeKit setup, whether you're an experienced smart home user or a newcomer.
EVVR has taken the market by storm by continuously designing new products and improving on existing ones. If you have a smart home powered by Apple's HomeKit, there is no need for any major overhaul, as many of our products feel quite at home in the ecosystem. Check out the range here!
- Apple HomeKit & Mac
- Setting Up Apple HomeKit Via Mac
- Integration of Accessories In Apple HomeKit
- EVVR Is Your Partner In A HomeKit-Powered Smart Home
Apple HomeKit & Mac
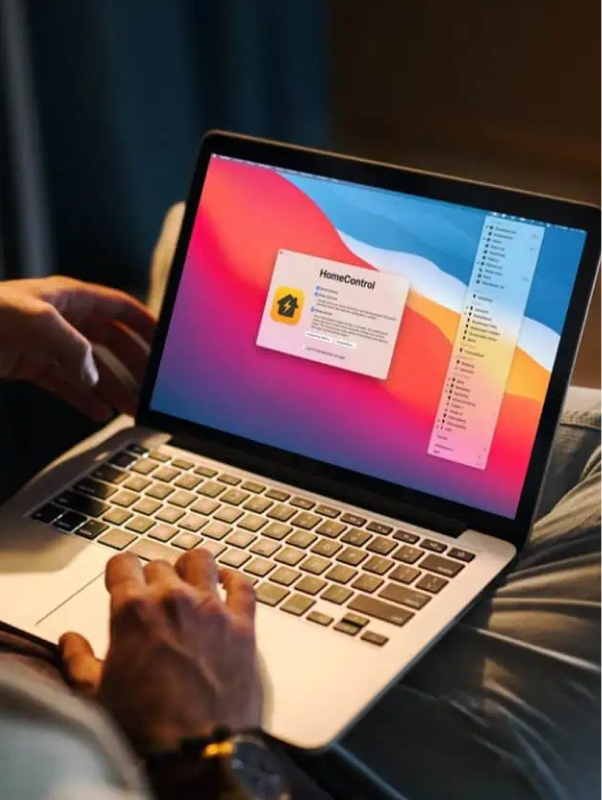
Most people ignore HomeKit, a framework that powers macOS and iOS unless they've looked into smart home gadgets. You can control smart home appliances like cameras, lighting, doorbells, heating, and more with the help of HomeKit for Macbook, which is simple to set up and operate. Using Siri or the Home app on any Apple device, you may manage these devices. You can design automation that starts working when specific conditions are satisfied, such as when motion is detected, or a certain temperature is reached.
HomeKit works behind the scenes on your network. Your iCloud account is a central repository for all configuration data for your smart home gadgets, which you can manage using Siri and the Home app on your iPhone, iPad, Mac, and Apple Watch. To utilize HomeKit for Macbook, you must be logged into your iCloud account. To operate devices remotely, you must use two-factor authentication. This is mostly because numerous smart home gadgets, like cameras, smart locks, alarms, and more, impact your house's security.

Although you won't have access to the new HomeKit architecture with devices running operating systems earlier than iOS/iPadOS 16.4 or macOS Ventura, HomeKit is compatible with any iPhone, iPad, Mac, or Apple Watch running iOS 10 or macOS Mojave or later. Although the Apple Watch merely offers controls, each platform has a Home app listing all your devices, rooms, and scenes and offers settings and controls. On an Apple Watch, though, you may examine footage from security cameras.
Our EVVR Energy Monitoring Smart Plug can be integrated into your smart home as it is compatible with Apple HomeKit for Mac. The setup takes a few minutes, and you will have all the control and freedom.
Setting Up Apple HomeKit Via Mac
You must sign in with your Apple ID, turn on iCloud Keychain and Two-Factor Authentication, and have Home enabled in iCloud Settings to see your HomeKit accessories in the Home app on Mac. The most recent software should be installed on both your Mac and iOS.
Although Unfortunately, you can still access most of the Home app's other capabilities even though you can't directly add new accessories on the Mac.
When using the Mac to control Home, clicks and right-clicks replace long pushes and taps like on iOS and iPadOS. The iPad's sidebar navigation view is also a feature of the macOS Home program, making it simple to get to a particular area without swiping through each one separately.
Click on it to view the live feed from a HomeKit camera or to turn the device ON/OFF. White indicators indicate that the gadget is ON, whereas grayed-out icons indicate it is now OFF.
You have two choices when you right-click on an accessory: Show Controls or View Camera and Settings. You may rename your devices in the Settings menu, which helps move things about the house.
You can view the device name and room in settings. From here, you can add it to your favorites list, group accessories, change the HomeKit Secure Video camera settings, and view information like the firmware version.
Depending on your devices, the controls you access when you select Show Controls include the ability to lower the lights, change the temperature, and more. Show Controls will also give you the choice to alter the color of your lights and turn on Adaptive Lighting if you use compatible light bulbs.

Integration of Accessories In Apple HomeKit
Smart Light Bulbs
The Yeelight Smart LED Color Bulb contains many of the capabilities you'd anticipate from a smart bulb in addition to a few extras, like Color Picker (which enables you to use the camera on your smartphone as a scanner to match the colors of things in your home with the colors of your bulb's light output). The Yeelight provided brighter light than most of the bulbs we examined, making it ideal for regular usage. It also connects to the Wi-Fi in your house because, unlike many other bulbs, it doesn't require a hub. You won't go broke if you install one in your living room and one in your bedroom because it is reasonably priced. Finally, it is compatible with many other smart home products thanks to Samsung SmartThings, Apple HomeKit, Google Assistant, and Amazon Alexa. The Yeelight Smart LED Tunable White Bulb is an option to explore if you don't need any extra color.
Smart Cameras
Day or night, the Eufy Solo IndoorCam C24 records excellent 2K-resolution video and has a generous 125-degree field of view. We like that you can continuously record locally and store recordings locally on a microSD card or network-attached storage (NAS). However, you can also choose cloud storage through a paid Apple HomeKit Secure Video or Eufy Cloud Service subscription. The Eufy C24 works with Google Assistant and Amazon Alexa in addition to HomeKit. (For additional details, see our article on the top indoor security cameras.)
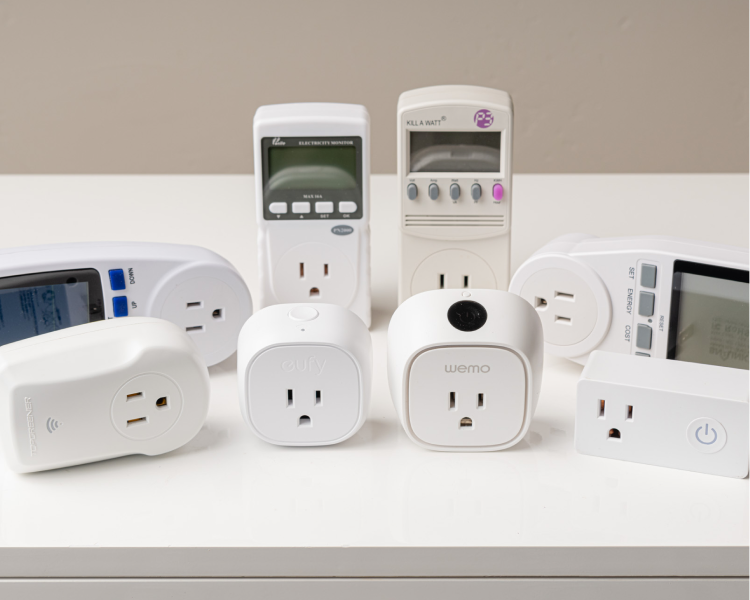
Smart Plugs (EVVR Energy Monitoring Smart Plug)
The EVVR Energy Monitoring Smart Plug is a simple way to provide remote control for lamps, fans, and other on/off devices. It normally costs less than half as much as most other HomeKit-compatible plugs. Add the dongle to your router, make it a part of the Home app, and start speaking commands to Siri (or using the Home app) to get things done. With the help of these, you can also turn ordinary lighting fixtures into intelligent ones that may be included in Automations and Scenes as well as Schedules (much like a lighting timer). For instance, we regularly use one to turn on and off a light, but we can also operate it remotely.
Of course, you can optimize your energy usage around the house by getting insights through the application. If that's not the whole package, we don't know what it is!
Smart Thermostats
The appealing display and simple user interface of the Ecobee SmartThermostat with Voice Control are greatly appreciated. But the remote sensor makes it so appealing as a smart thermostat. This tiny white puck is designed to be placed in a bedroom, living room, or other space that lacks adequate heating or cooling. The concept is that you can instruct the Ecobee to average the temperature settings between the main unit and the remote sensor or even utilize the remote sensor's temperature instead of the main unit's. A property with distinct climate zones or a poorly situated thermostat, which, in our experience, is practically all of them, may benefit most from adding several sensors.
Smart Locks
The Yale Assure SL can be controlled by Siri or integrated with other HomeKit devices, such as smart thermostats and smart lights when connected to your HomeKit system. One of our top smart lock recommendations, the Yale Assure SL, allows you to unlock your door using an app, automatically via geofencing, or with a keypad (particularly useful when providing temporary entry codes). Although you don't need internet service to work, it comes with the August Connect gateway. Although there isn't a backup keyway, you may still temporarily power the keypad up by connecting two terminals of a 9-volt battery to it if the batteries should run out.
Smart Switches
Our HomeKit pick for a more thorough upgrade that enables the management of complete fixtures is Lutron's Caséta Wireless Smart Lighting Dimmer Switch Starter Kit. Installing Lutron smart dimmers in older homes is simpler because they don't need to use a neutral wire when replacing your existing wall switches. (If you're a beginner, hire a pro to install these because it requires messing with your home'sHome's wiring. HomeKit automation lets you combine Caséta switches with other smart home appliances, a blend of the new and the old that is more beneficial and practical than many smart-home enthusiasts would want to acknowledge.
EVVR Is Your Partner In A HomeKit-Powered Smart Home
Since its inception, EVVR has made a big splash in the smart home industry. Innovative solutions and practical products designed for a better living make us the most obvious choice for smart homes. Our exceptional products and services include EVVR Energy Monitoring Smart Plug, EVVR Center, EVVR Center Lite, and more. Whether you are thinking about getting a taste of smart living or committed to changing your life, we are your partner. Place your order today!