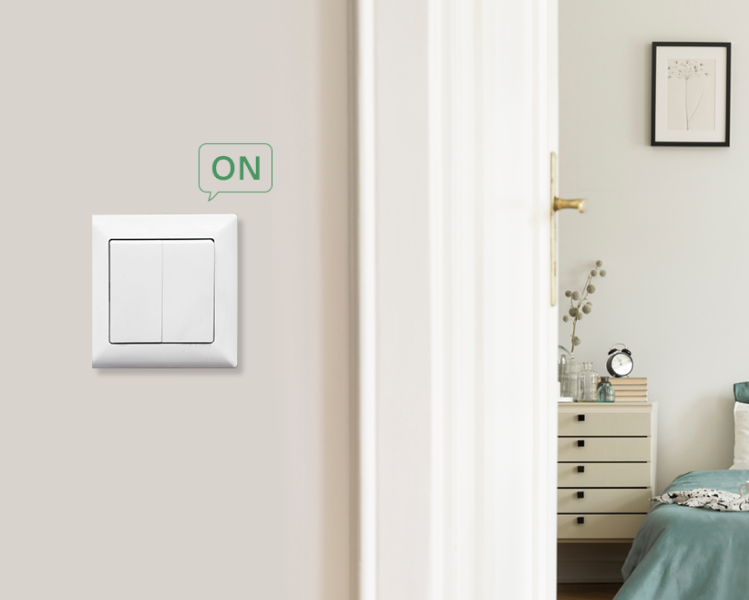
Having complete control over your home lighting and adjusting it according to your mood and occasion seems surreal. However, achieving this isn't possible with a simple switch unless you have a plug-in dimmer or a dimmer switch. Generally, a dimmer switch is an electronic device that allows you to adjust the voltage of your home lighting as per your needs. It also helps you save on your energy bills and enhance the longevity of your bulbs.
Looking at these benefits, more and more people are installing dimmer switches in their homes. So, if you also want a dimmer switch to lift the overall decor of your home and don't know how to install a dimmer switch, we got you covered! This article will unveil everything from different types of dimmer switches to their installation and working. Let's dig further!
How to Install a Dimmer Switch?
If you think installing a dimmer switch means connecting a few wires, you may be wrong. The installation of a dimmer switch is quite tricky, so ensure you follow all the steps to make it successful.
You can also learn about how to replace a dimmer switch.
Tools Required to Install a Dimmer Switch
Before you proceed to how to install a dimmer switch, here are a few tools to make the process more welcoming:
- New dimmer switch
- Switchplate (optional)
- Wire cutters
- Voltage Tester
- Screwdriver
- Wire strippers
- Needle-Nose pliers
- Tape measures
These inexpensive tools help you ace all your electric projects easily. However, before starting the final installation procedure, ensure all the wiring of your home is safe and follows the National Electrical Code requirements.
Step-by-Step Process of Installation of a Dimmer Switch
Whether you are installing a new dimmer switch or replacing the old one, the steps don't change. So, go through the below-given steps before getting started with the installation!
1. Choose the Type of Dimmer Types
First and foremost, you should choose the type of dimmer switch you will install in your home. There are several types of dimmer switches available in the market, and you should select the one that best suits your budget and is compatible with your lighting. To make it easier for you, we’ve listed different dimmer switches:
Integrated Dimmer Switch
Wireless, as well as manual operations, can control integrated dimmer switches. This switch features a capacitive touch and motion sensor that quickly turns the light on and off. At the same time, there's a dimmer slider that you can utilize to turn down the brightness of the lighting.
Slide Dimmer Switch
The Slide Dimmer switches are simple and can easily be operated through the slider on the switch that enables you to adjust the brightness of your lights. You will also find a rocker button at its top or bottom to turn the light on or off.
Touch Screen Dimmer Switch
If you have an in-wall relay smart switch in your home but want something extra to benefit from the dimming feature of your lighting, this touchscreen dimmer switch is the top choice! Being a great add-on option, the touchscreen dimmer switch is neat and easy to use. You can adjust the overall brightness of your home by simply touching a few options on the switch.
Once you have selected the type of dimmer, let’s proceed with the remaining part of how to install a dimmer switch!
2. Turn Off the Lights
Never start any electrical project before turning the primary light source off. First, turn off the power to your home and wait until all running wires cool down. Double-check the current presence using a voltage tester, and if there's none, proceed to unscrew the targeted circuit.
3. Remove the Old Circuit or Switch
First, loosen the wires around the switch and detach it from the terminal. However, don't forget to pay close attention to the color of the wires attached at certain places before finally removing the last switch.
Pull the loosened switch away and again check for hot wires. Another vital thing to consider is to keep the cables at a distance from each other and don't let them bend. In the case of ground wiring, remove the ground wire at last.
>> How To Wire A Dimmer Switch
4. Connect the Dimmer Switch
The next step in how to install a dimmer switch is the integration of the new dimmer switch in the already opened circuit. Now there will be three different colored wires from the previously detached switch. One will be black, the other white, and a ground wire that's most probably wrapped in a green material or is of copper color.
After identifying the wires, use wire pliers to attach them back the same way they were attached before. In case all your wires are in copper color, the best way is to use the plier to fold all the wires together and form a loop on the side of the dimmer. Tighten the screw carefully and ensure no wires are splaying out of it.
5. Attach the Dimmer Switch to the Box
Now that all your wires are well folded and fixed, it's time to attach the dimmer switch and finish your how to install a dimmer switch process. Move the dimmer switch slowly, especially if you've to force it inside the electrical box. Otherwise, the wires will break, resulting in a malfunctioning switch. Tighten the screws and fix the dimmer switch along with the switch case over it. Don't leave any screws loose, or the dimmer switch will fall off easily.
6. Turn the Power Back On
Now turn on the power source of your home and check whether the dimmer switch is working or not. If not, perform all the how to install a dimmer switch steps again and figure out your mistake. In case of any complication, call the electrician immediately!
Cost to Install a Dimmer Switch
Dimmer switches are perfect for people who want the lighting to go according to their mood and lift the overall atmosphere of their homes. But many people don't go towards it, thinking dimmer switches are costly. However, this is nothing but a big myth. A simple dimmer switch costs you around $10 to $40, and the prices may change depending on different factors.
These include your location and whether you will install the switch yourself or need professional assistance. You should only install the dimmer switch yourself if you are confident enough and have previous electrical project experience. Overall, you can expect to pay anything between $100 to $200 for a dimmer switch installation.
How Does a Dimmer Switch Work?
The working of a dimmer switch is pretty simple. A typical dimmer switch breaks the flow of electricity going through a circuit that reduces the intensity of light in your bulbs. There's a small motor inside the dimmer that offers occasional resistance to the flow of current, resulting in low brightness, and that's why you get dim light in your room.
Conclusion
Now that you know how to install a dimmer switch and what cost you will have to pay, let's see what else you can combine with a dimmer switch to make it more functional. When combined with a dimmer switch of any type, a smart in-wall relay switch creates a great home automation experience. You can use the dimmer switch to adjust the brightness, while the voice control in-wall relay switch will enable you to control the working of your home lighting from a distance.
If you want to try, the Evvr in-wall relay switch is the best in this regard. The Evvr in-wall relay switch allows you to access your home's lighting through apps like Siri, Alexa, and Google Assistant. Moreover, it connects to other switches and devices through Bluetooth, WiFi, ZigBee Hub, etc., making it easier for you to adjust and control the overall bulbs, lighting, and switches smartly.
What more? You can create 3-way and 4-way dimmer switches with it to access the bulbs from different locations. So, don't wait and grab your Evvr In-Wall Relay Switch from us now and open the way to a smart home!

FAQs of installing a dimmer switch
How to Install Lutron Dimmer Switch?
The steps for installing a Lutron Dimmer Switch are just like any dimmer switch, with a few exceptions.
- First, set up the smart bridge with your Lutron Caséta dimmer.
- Next, turn off your home's power and remove the previous circuit.
- Install the new Lutron dimmer switch into this circuit and fix the wires as they were attached previously.
Lastly, cover the new dimmer switch with a plastic case and turn the power back on.
How to Install a Dimmer Switch; is there any need for an electrician?
If you've not previously worked with any electrical project, then it's advised not to install the dimmer switch yourself and call the electrician.
Can a Dimmer Switch Cause the Breaker to Trip?
Yes, if you've not followed all the steps of how to install a dimmer switch steps properly or there's any loose connection, the dimmer switch will make your home breaker trip.